
Ubiquiti UniFi-Controller on an ASUSTOR NAS
Update: The docker container image maintained by linuxserver.io for this version of the UniFi Controller is depreciated. This information is no longer up to date and should not be used to implement a current generation UniFi Controller.
As I was finishing up for the year, I vowed to get through a couple of those typical “I should do that” but haven’t done that tasks that were left due to working too much and not dedicating any time on the weekends (or having any interest/energy either on some). Getting some new wireless gear to improve signal in the house and tidying up the configurations were one of these tasks.
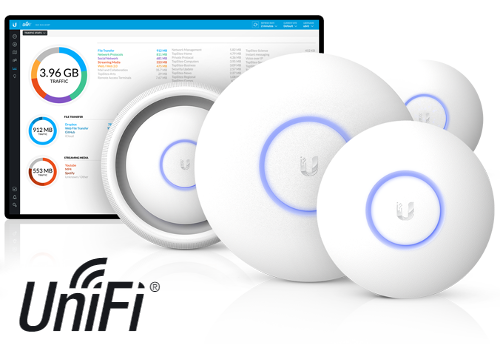
I’ve previously had the UniFi Controller in play in the household for my modest amount of devices (I’d call 4 devices very modest – with plans to add a few more) as it allows you to configure it all in the one panel and adopt every new wireless device to the settings, however due to the way that things have gone with getting access to new Raspberry Pi’s post COVID and the fact that another dedicated device would be taking up a Pi plus a power source it ended up being turned off and used for something else leaving the network in a bit of a random state.
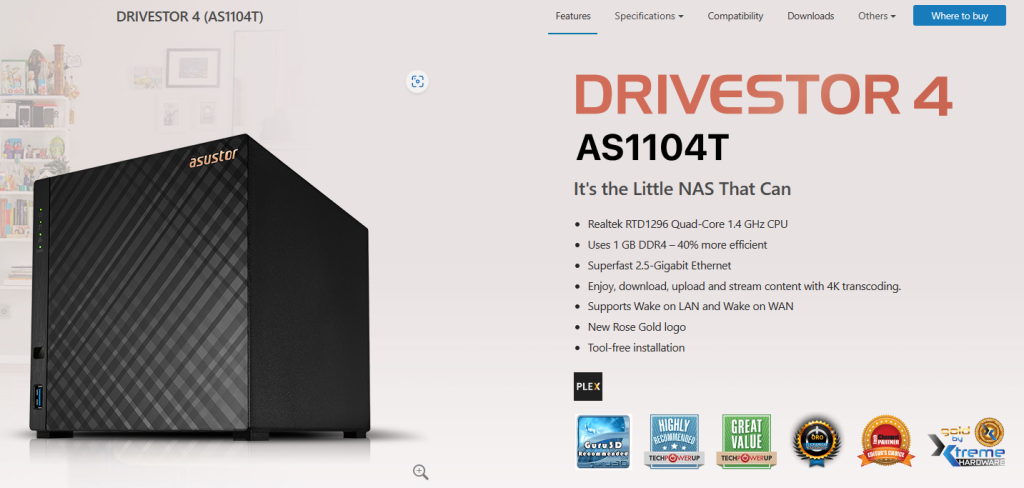
I run a modest little NAS in house with 2x WD Red 6TB drives for backing up all of my content and accumulating the electronic files that mean the most to me (images/videos & music), but outside of a little bit of activity here and there the NAS sits on the shelf powered up ready for the moment.
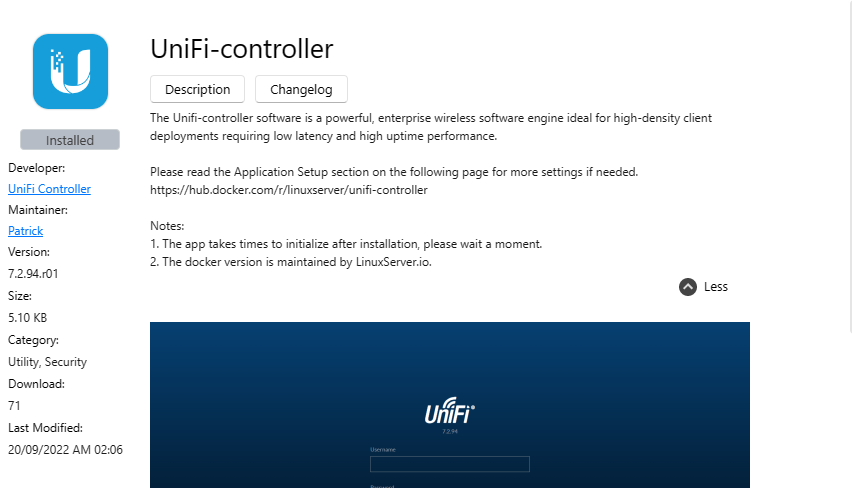
As I was well aware of the fact that a number of NAS brands have apps in their ecosystem, I went straight to the App Store on the device to find I was in luck! Someone had ported UniFi Controller in a Docker environment, which allowed a quick and relatively easy install in less than 15 minutes.
Before installing (if you haven’t done this before), be sure to land your NAS on a Static IP address so you can easily adopt any devices you have.
Docker is an open platform for developing, shipping, and running applications. Docker enables you to separate your applications from your infrastructure so you can deliver software quickly. With Docker, you can manage your infrastructure in the same ways you manage your applications. By taking advantage of Docker’s methodologies for shipping, testing, and deploying code quickly, you can significantly reduce the delay between writing code and running it in production.
DOcker official website
Setup was simple, but the description/changelog in the App Central was a bit woeful. Reading the link that is provided in the app store to the Unifi-Controller Docker gives the lowdown (if you missed it) that the installation will land on https://your-nas-ip:8443/ for the first setup, then once configured https://your-nas-ip:28443/manage/account/login?redirect=%2Fmanage%2Fdefault%2Fdashboard will be the URL for your configurations.
I won’t go through the details of configuring the controller as this is something that you need to decide on yourself, just like you pick a flavour of coffee bean. What I will elaborate on which took me a slight learning curve to last time though, was the adopting inform URL in the device. Typically the devices will look for a system called “unifi” but as we are using the NAS, you’ve already got a name for that puppy on the network so the UniFi devices get a little bit lost.
Start by ensuring that all of the UniFi Devices on the network that you wish to control are factory reset and showing themselves in the UniFi Devices section of the controller, you’re going to need the IP addresses of each of the units to use SSH to connect to their terminal and point them in the right direction manually.
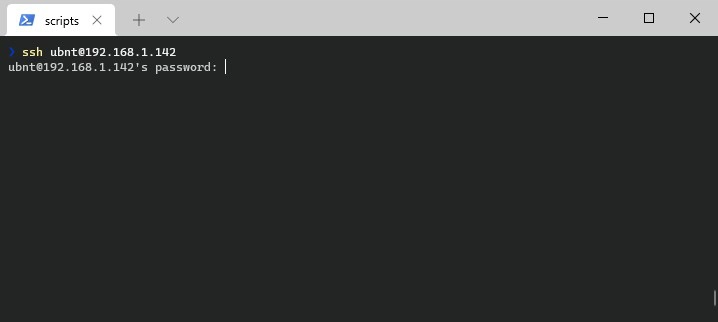
Open an SSH Client
We first need to connect the access point over SSH. Assuming you are running on Windows for this one I like to use PowerShell.
Press Windows key + R
Type PowerShell and press Enter or click OK
Start an SSH connection with the UniFi Device
Type ssh ubnt@ip-of-ap (replace ip-of-ap with the IP Address of UniFi product)
When asked, enter the default password ubnt (or lookup the SSH details in your controller)
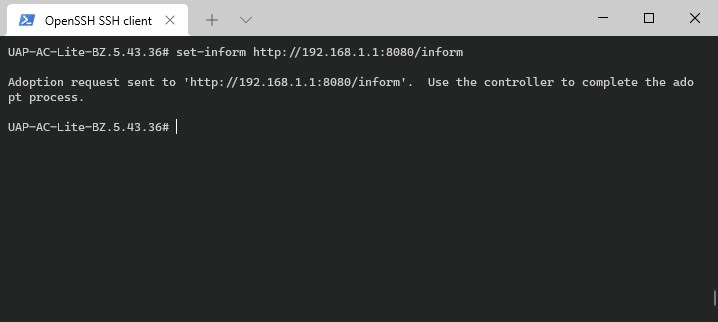
Configure the Set-Inform URL
Remember we need to change the default which is http://unifi:8080, the inform URL is the IP Address of your controller which you’ve installed on the NAS followed by the port number…so
http://ip-of-nas:8080/inform (replace ip-of-nas with the IP Address of UniFi product) is what we need to set to the device.
Type the following command and press enter:
set-inform http://ip-of-nas:8080/inform (replace ip-of-nas with the IP Address of UniFi product)
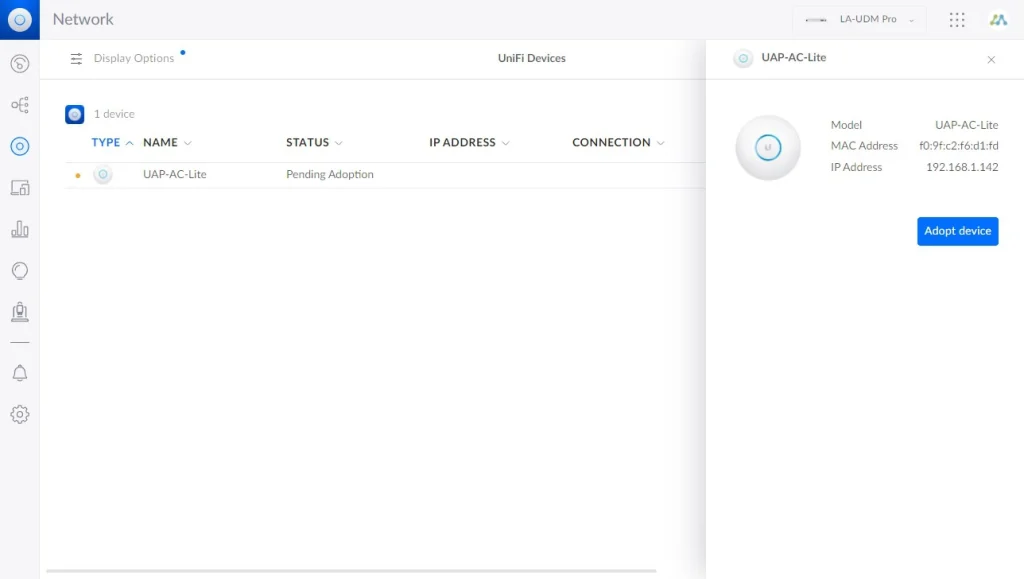
Complete the adoption in the controller
You should now see the access point in the controller, ready for adoption in the traditional way.
If the access point still doesn’t show up in the controller, then check if the settings are applied correctly. Head back into the PowerShell screen with the SSH session open on the device and type info + Enter to see the official status of the device.
You will need to go through each of the devices in the same fashion but once you have they will see the UniFi-Controller and things will be as good as gold in less than 5.
I will note that performance of pageload is not going to win the olympics, but for the ease of being able to run the controller to perform the essentials and give you a panel when you need it….it cuts the mustard for me.